Hackernews client with Chakra UI
This article was originally published on the Logrocket blog. Check it out here.
Introduction
If you are interested in entrepreneurship and computer science and follow the latest news around those topics actively, you might already be familiar with Hackernews. For the ones who do not know about it, its a social news website run by the investment fund Y combinator. While the quality of posts that the site publishes is debatable, the UX is seems quite outdated.
Don't get me wrong, it is still a decent UX which is crazy fast but it does not seem polished enough to compete with websites in the year 2022. Some say that this is by design and the site is built on a tech stack as close to pure HTML, CSS and JS to avoid the bundle size and other complexities of a UI framework. But with the advent of breakthrough technologies like Next.js, it is possible to get closer to that level of performance in spite of using a UI framework. And we will do just that in today's article.
Tech Stack
Let us take a look at our weapon of choice, a.k.a the tech stack that we would be using for this project.
UI framework
As stated earlier, our UI framework of choice will be Next.js. That is because we want to leverage on server-side rendering which Next.js supports out of the box. Apart from that, we will also indirectly benefit from the other features like file-system based routing, code-splitting, fast-refresh, etc.
Along with Next.js, we will be using Chakra UI as our choice for the component library. Chakra is an amazing UI library that provides modern-looking React components which can be customized to the highest level without writing a single like of CSS. The library also has responsive design support out of the box which we will also leverage.
Backend API
In order to query the latest items that we need to display on our app, we will make a call to the free Hacker news APIs documented here.
We basically need to call these two APIs:
- The new and top stories API that gets us 500 of the top item ids in a json format. Try it out yourself here.
- The get item by id API that gets all the details of an item provided an item ID.
Here's how we will be implementing the backend. Make a call to the first API and fetch the ids of all 500 items.
A call to https://hacker-news.firebaseio.com/v0/topstories.json?print=pretty returns
[
  30615959,
  30634872,
  30638542,
  30638590,
  30635426,
  30637403,
  30638830,
  30632952,
  ...
]
We fix a page size of 20 items and determine the ids that fall under that page using the formula:
pageStartIndex = Number(page)*Number(pagesize)
pageEndIndex = (Number(page)+1)*Number(pagesize) - 1
Once we have the indices, we will trigger an API call to fetch the details of all the 20 items within that range of indices in parallel. A call for one item would look like this:
The API URL: https://hacker-news.firebaseio.com/v0/item/30615959.json?print=pretty returns
{
  by: "rayrag",
  descendants: 50,
  id: 30615959,
  kids: [
    30637759,
    30639031,
    30637901,
    30637711,
    ...
  ],
  score: 364,
  time: 1646841853,
  title: "Pockit: A tiny, powerful, modular computer [video]",
  type: "story",
  url: "https://www.youtube.com/watch?v=b3F9OtH2Xx4"
}
All this will happen on the server-side due to the magic of Next.js and we will get only the details necesary to populate the 20 items on the UI. Once the user clicks on any of the list items, we will navigate to the url of that item in a new tab in the browser.
Building the UX
Project setup
The frontend setup is as easy as creating a new Next.js repo which is done using the create-next-app command. Here's how that works:
- Navigate to a folder where you wish to create the project.
- Run the following command
npx create-next-app hackernews
And Next.js would take care of the rest.
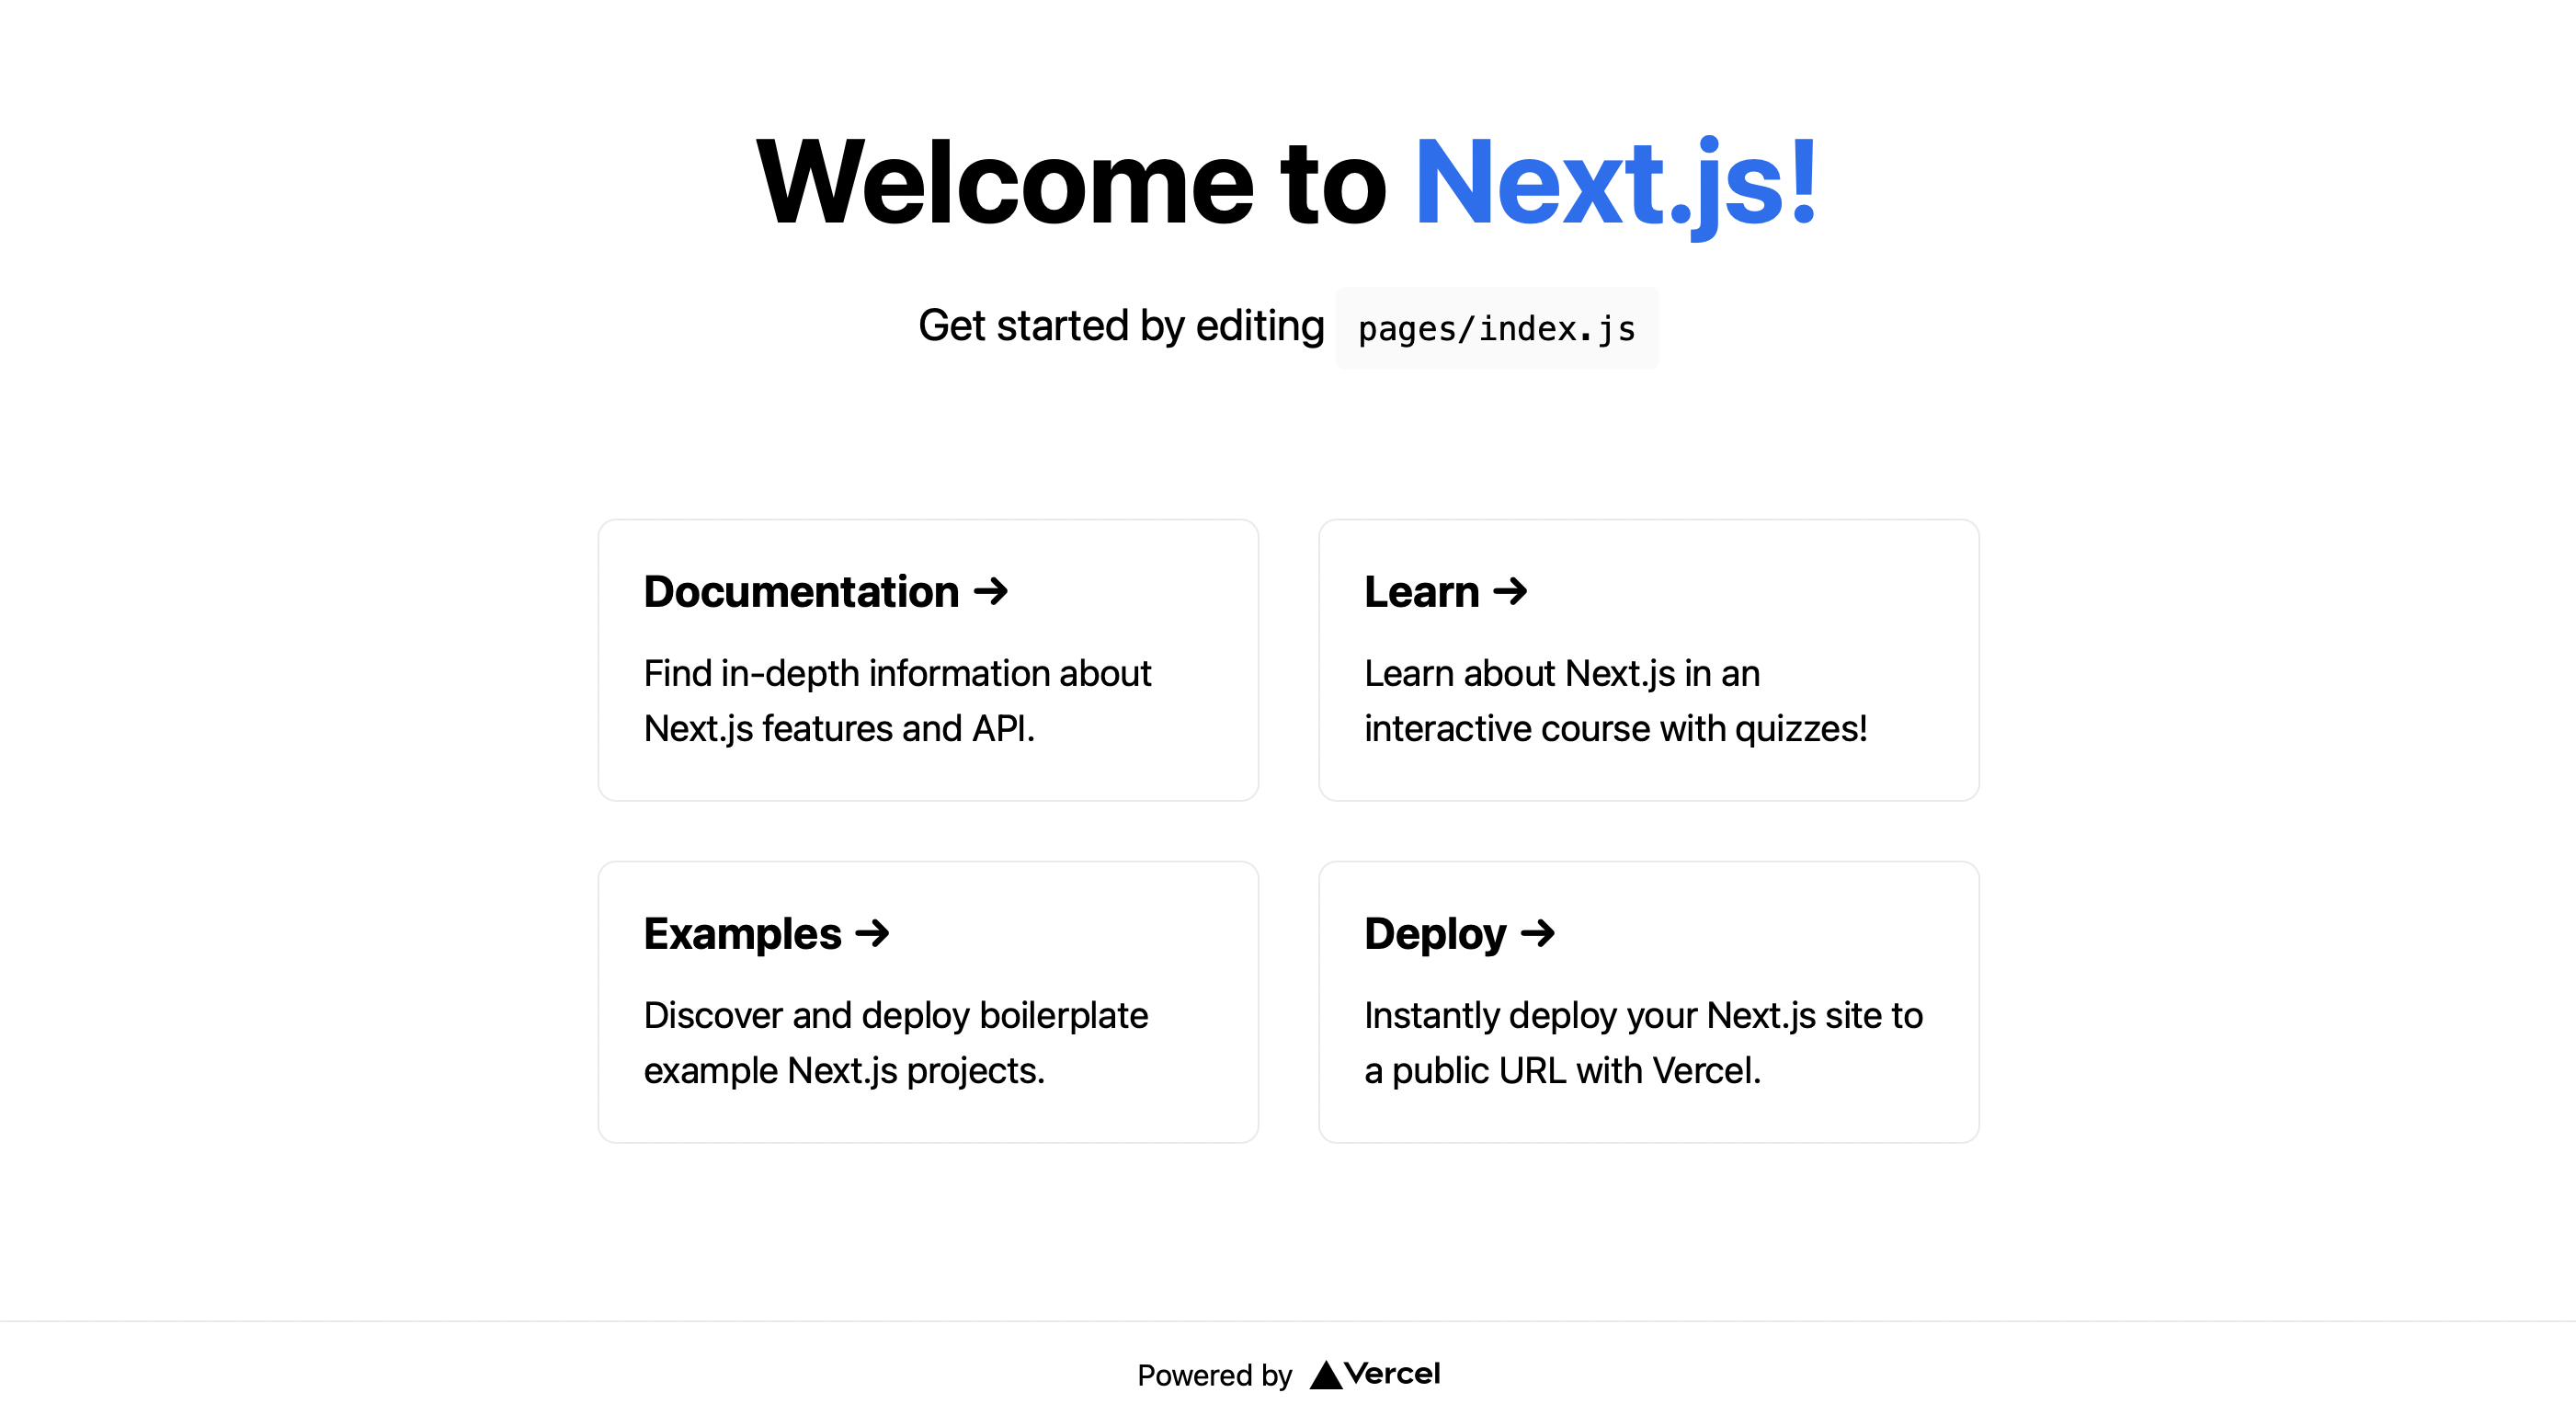
After the script has completed, there would be a new folder created with the name `hackernews'. Navigate into it and start the application to see the welcome screen.
cd hackernews
yarn dev
This brings up the familiar start page for Next.js projects.
Chakra UI integration
let us now install Chakra UI in the same project. Here is the command for that:
npm i @chakra-ui/react @emotion/react@^11 @emotion/styled@^11 framer-motion@^6
After that installs, we need to go to pages/_app.js and wrap the root with ChakraProvider so that it looks like this
import { ChakraProvider } from "@chakra-ui/react";
import '../styles/globals.css';


function MyApp({ Component, pageProps }) {
  return (
    <ChakraProvider>
      <Component {...pageProps} />
    </ChakraProvider>
  )
}

export default MyApp
And now we're all set to use chakra UI in our project. You can follow along and build it yourself or refer to this Github repository.
Home page
The next step is to modify the pages/index.js file as per our need. We will use Chakra UI components to build the site title and the main header along with the pagination menu. We will just have two styles in our app. A .container that will position our main site in the center and a .main style that will have our entire site UI.
Then, we create our header and title component as follows. The menu is hardcoded for now but will be changed later:
<Box className={styles.main} px={[4, 10]}>
  <Heading as='h1' size='4xl'>
    Hacker <span style={{color: 'teal'}}>news</span>
  </Heading>

  <Flex direction="row" justify='space-between' align='center' width="100%" mt="12">
    <Heading as='h1' size='xl'>
      Top news
    </Heading>
    <Menu>
      <MenuButton as={Button} rightIcon={<ChevronDownIcon />}>
        Page
      </MenuButton>
      <MenuList>
        <MenuItem>1</MenuItem>
        <MenuItem>2</MenuItem>
        <MenuItem>3</MenuItem>
        <MenuItem>4</MenuItem>
        <MenuItem>5</MenuItem>
      </MenuList>
    </Menu>
  </Flex>
</Box>
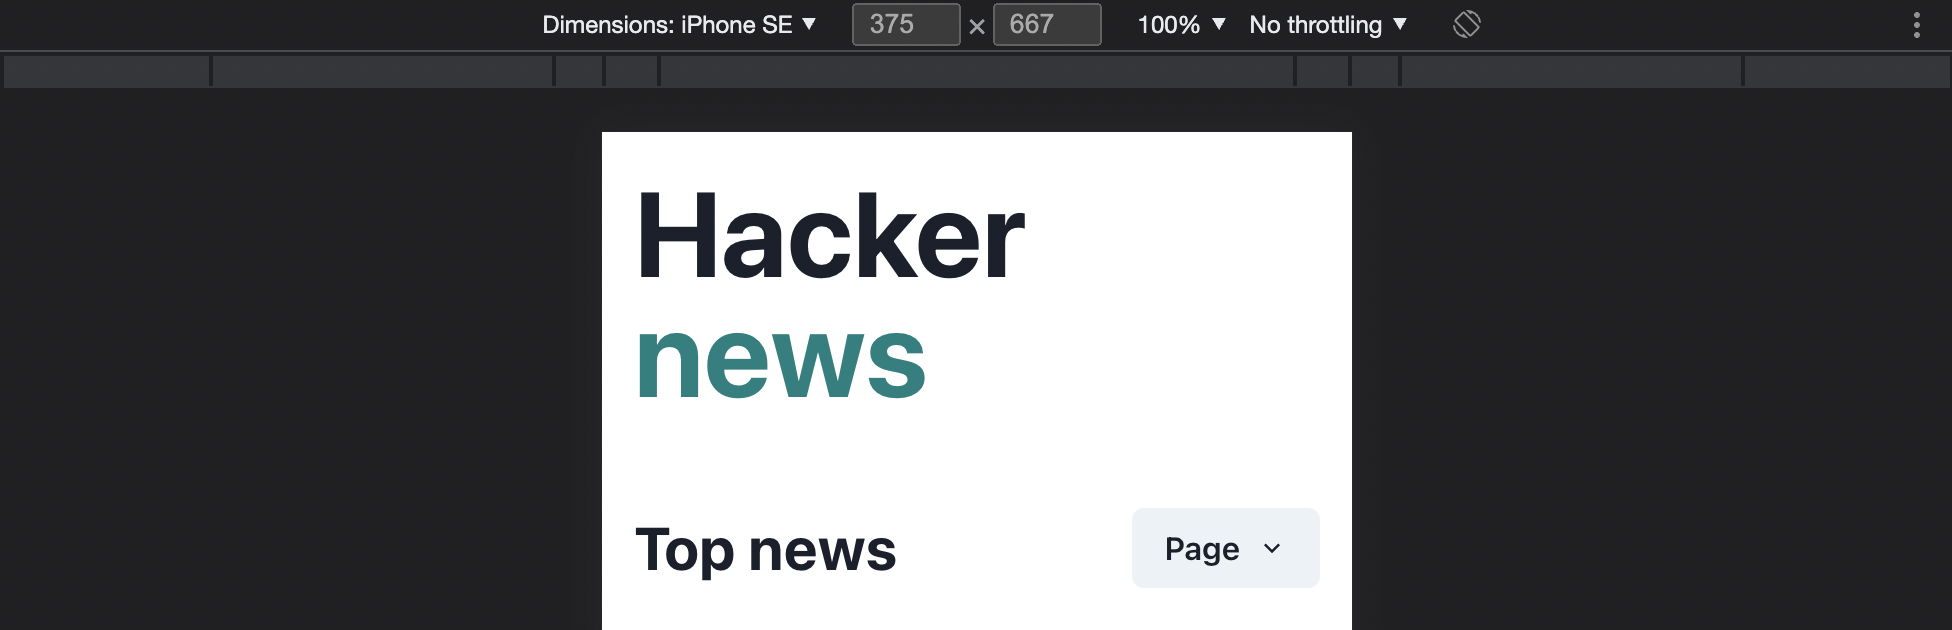
Here's what the output looks like on web:

And on mobile:
List UI with dummy data
Now, the next goal is to create a component to display the Hackernews list item. We need to show the title, the upvotes, comments, & the user who posted the item. Before integrating the API, we will assume some dummy values for these and create the UI for the item. Create a components folder and a file named ListItem.jsx. This will hold the presentation code for the list item.
In order to keep the list item responsive, we will use the Flex component provided by chakra to build several flexbox rows and columns. This is what the component looks like:
export default function ListItem({ item }) {
  return (
    <Flex direction="row" align={"center"} mb={4}>
      <Flex style={{ flex: 2 }} justify="center" mt={-8}>
        <Tag
          size={"md"}
          key={"md"}
          borderRadius='full'
          variant='solid'
          colorScheme='teal'
        >
          <TagLabel>{item.index}</TagLabel>
        </Tag>
      </Flex>
      <div style={{ flex: 12 }}>
        <Flex direction={"column"}>
          <Heading as='h1' size='sm'>
            {item.heading}
          </Heading>
          <Flex direction={"row"} justify="space-between" mt="2" wrap={"wrap"}>
            <Text fontSize='sm' color="gray.500" >{item.site}</Text>
            <Text fontSize='sm'>{item.time} - by <span style={{ color: '#2b6cb0' }}>{item.user}</span> </Text>
          </Flex>
          <Flex direction="row">
            <Button leftIcon={<ArrowUpIcon />} colorScheme='blue' variant='ghost'>
              {item.likes}
            </Button>
            <Button leftIcon={<ChatIcon />} colorScheme='orange' variant='ghost'>
              {item.comments}
            </Button>
          </Flex>
        </Flex>
      </div>
    </Flex>
  )
}
Here is what the corresponding UI for this single list item looks like, if the item is this json:
const item = {
  heading: "Can't you just right click on this?",
  site: "lucasoftware.com",
  time: "10h",
  user: "bangonkeyboard",
  likes: 20,
  comments: 50,
  index: 1,
}

Pretty neat right?
The only functionality that this ListItem code is missing is the redirection to a new tab when any of the item is clicked. We will add that later. Now all we need to do is fetch the list of items from the backend and map over it to create these list items.
API integration
Next step is the API integration. We will make a call to the topstories API that we discussed earlier and then fetch the details for the items based on the page on which the user is. The page number can be read from the query param in the URL.
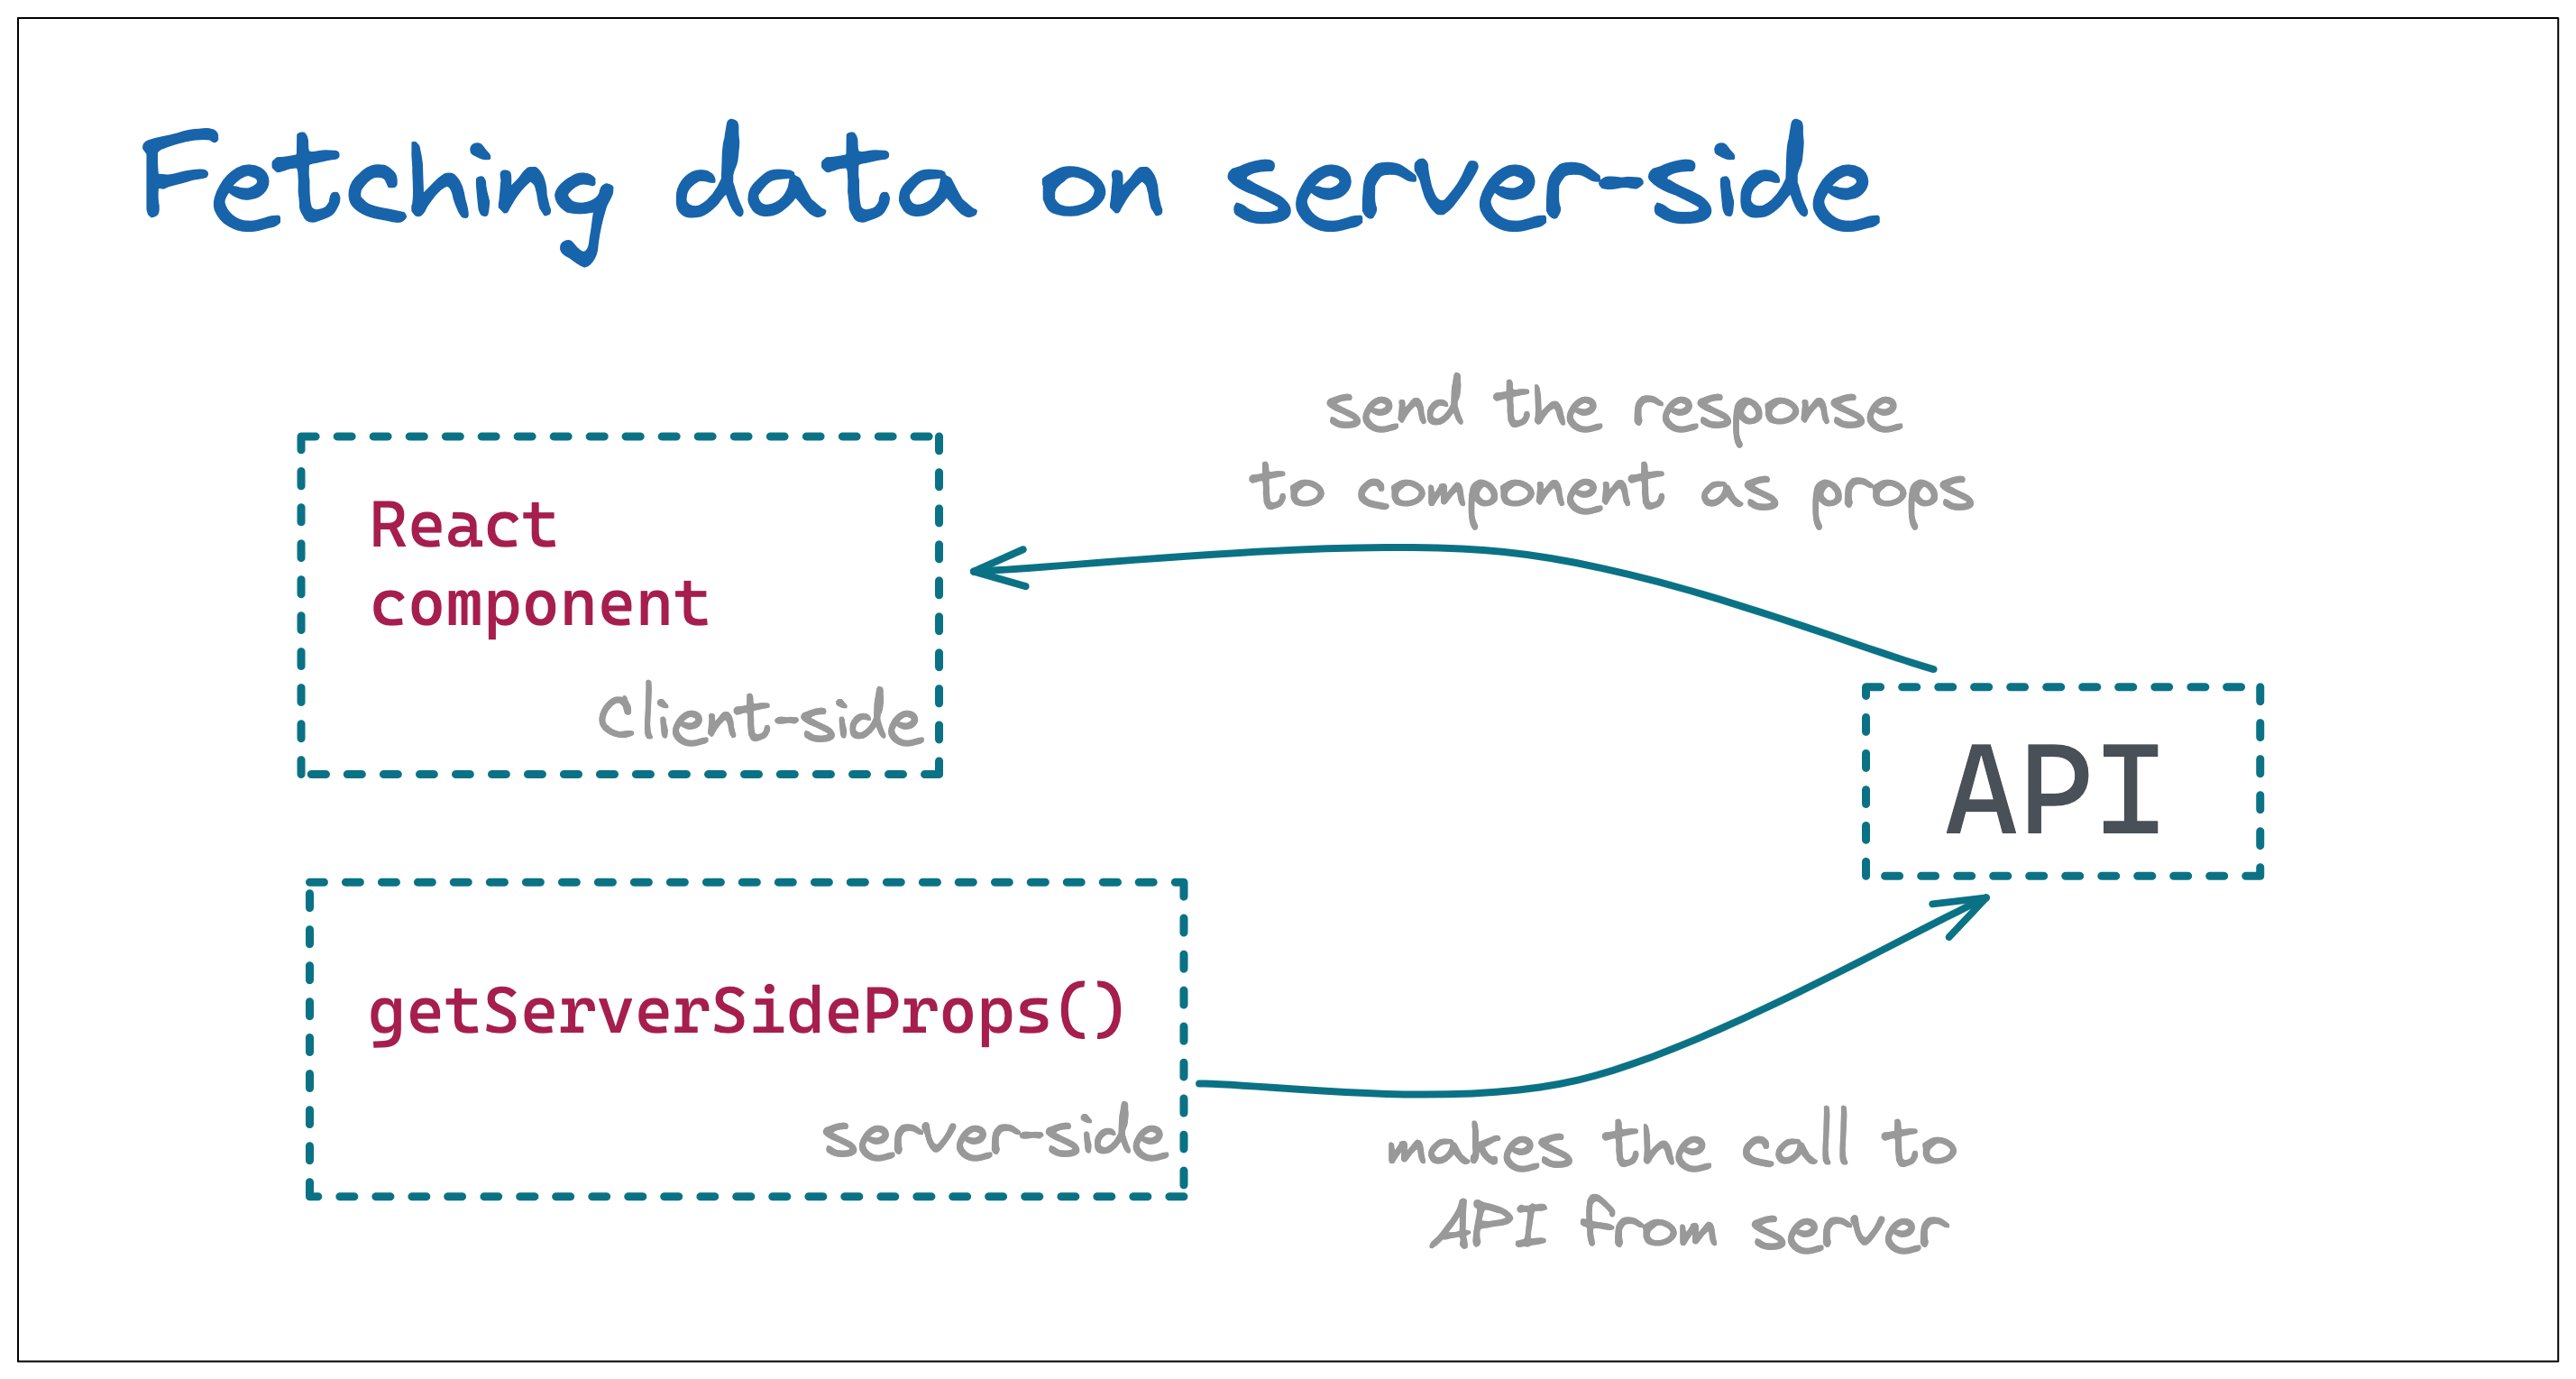
Server-side rendering
In order to make all this happen on the server-side, we will use the getServerSideProps method that Next.js provides us. All the code that is written inside of that method is executed on the server side and the data returned from that method is supplied to the React component as props.
Here is the code that goes inside the getServerSideProps method and fetches the posts:
export async function getServerSideProps(context) {

  let pagesize = PAGE_SIZE;
  let { page=1 } = context.query;
  let posts = await fetchAllWithCache(API_URL);

  page = page == 0 ? 0 : page - 1;
  const slicedPosts = posts.slice(Number(page)*Number(pagesize), (Number(page)+1)*Number(pagesize));

  const jsonArticles = slicedPosts.map(async function(post) {
    return await fetchAllWithCache(`https://hacker-news.firebaseio.com/v0/item/${post}.json?print=pretty`);
  });

  const returnedData = await Promise.all(jsonArticles);

  return {
    props: {
       values: returnedData,
       totalPosts: posts.length
    }
  }
}
Notice that the page number is being read on the server-side using the page query param that is made available by context param. Then the results are sliced and the details are fetched for the sliced post ids.
We have also introduced a caching layer using memory-cache so that all these APIs are cached on our server for 60 minutes. Here is the caching logic:
async function fetchWithCache(url) {
  const value = cacheData.get(url);
  if (value) {
    return value;
  } else {
    const minutesToCache = 60;
    const res = await fetch(url);
    const data = await res.json();
    cacheData.put(url, data, minutesToCache * 1000 * 60);
    return data;
  }
}
At the end of this method, we have the posts being passed to the React component as props.
Iterate over the list
The next step is to iterate over the list that we get in props and call the ListItem component. This is the code which accomplished just that:
<Flex direction="column" width="100%" mt="8">
  {posts.map((post, i) => <ListItem item={post} key={post.id} index={(page - 1)*PAGE_SIZE+i+1} />)}
</Flex>
Parsing the domain
There are two more things that we need to take care of. The first one is that the hackernews API does not return us the domain name separately so we need ot extract it out of the URL ourself. A neat trick is to use the URL helper as follows:
const { hostname } = new URL(item.url || 'https://news.ycombinator.com');
This helps us extract the hostname a.k.a domain name out of any URL. Else, it will always be set to hackernews to avoid the app from crashing.
Parsing the time
Another utility that we need is to convert the timestamp that we get back into a human readable time. For instance, the 1647177253 that we get as the value of time needs to be converted into 3 hours ago. That sounds tricky but is quite straight forward. Here's a util which accomplished just that. It first calculates the number of seconds that have passed since that time stamp and then calculate the days, hours, minutes and seconds that have passed sequentially and return when a non-zero value is found.
export function getElapsedTime(date) {
  // get total seconds between the times
  var delta = Math.abs(new Date().getTime()/1000 - date);

  // calculate (and subtract) whole days
  var days = Math.floor(delta / 86400);
  if (days) return `${days} days ago`;
  delta -= days * 86400;

  // calculate (and subtract) whole hours
  var hours = Math.floor(delta / 3600) % 24;
  if (hours) return `${hours} hours ago`;
  delta -= hours * 3600;

  // calculate (and subtract) whole minutes
  var minutes = Math.floor(delta / 60) % 60;
  if (minutes) return `${minutes} minutes ago`;
  delta -= minutes * 60;

  // what's left is seconds
  var seconds = delta % 60;
  return `${seconds} seconds ago`;
}
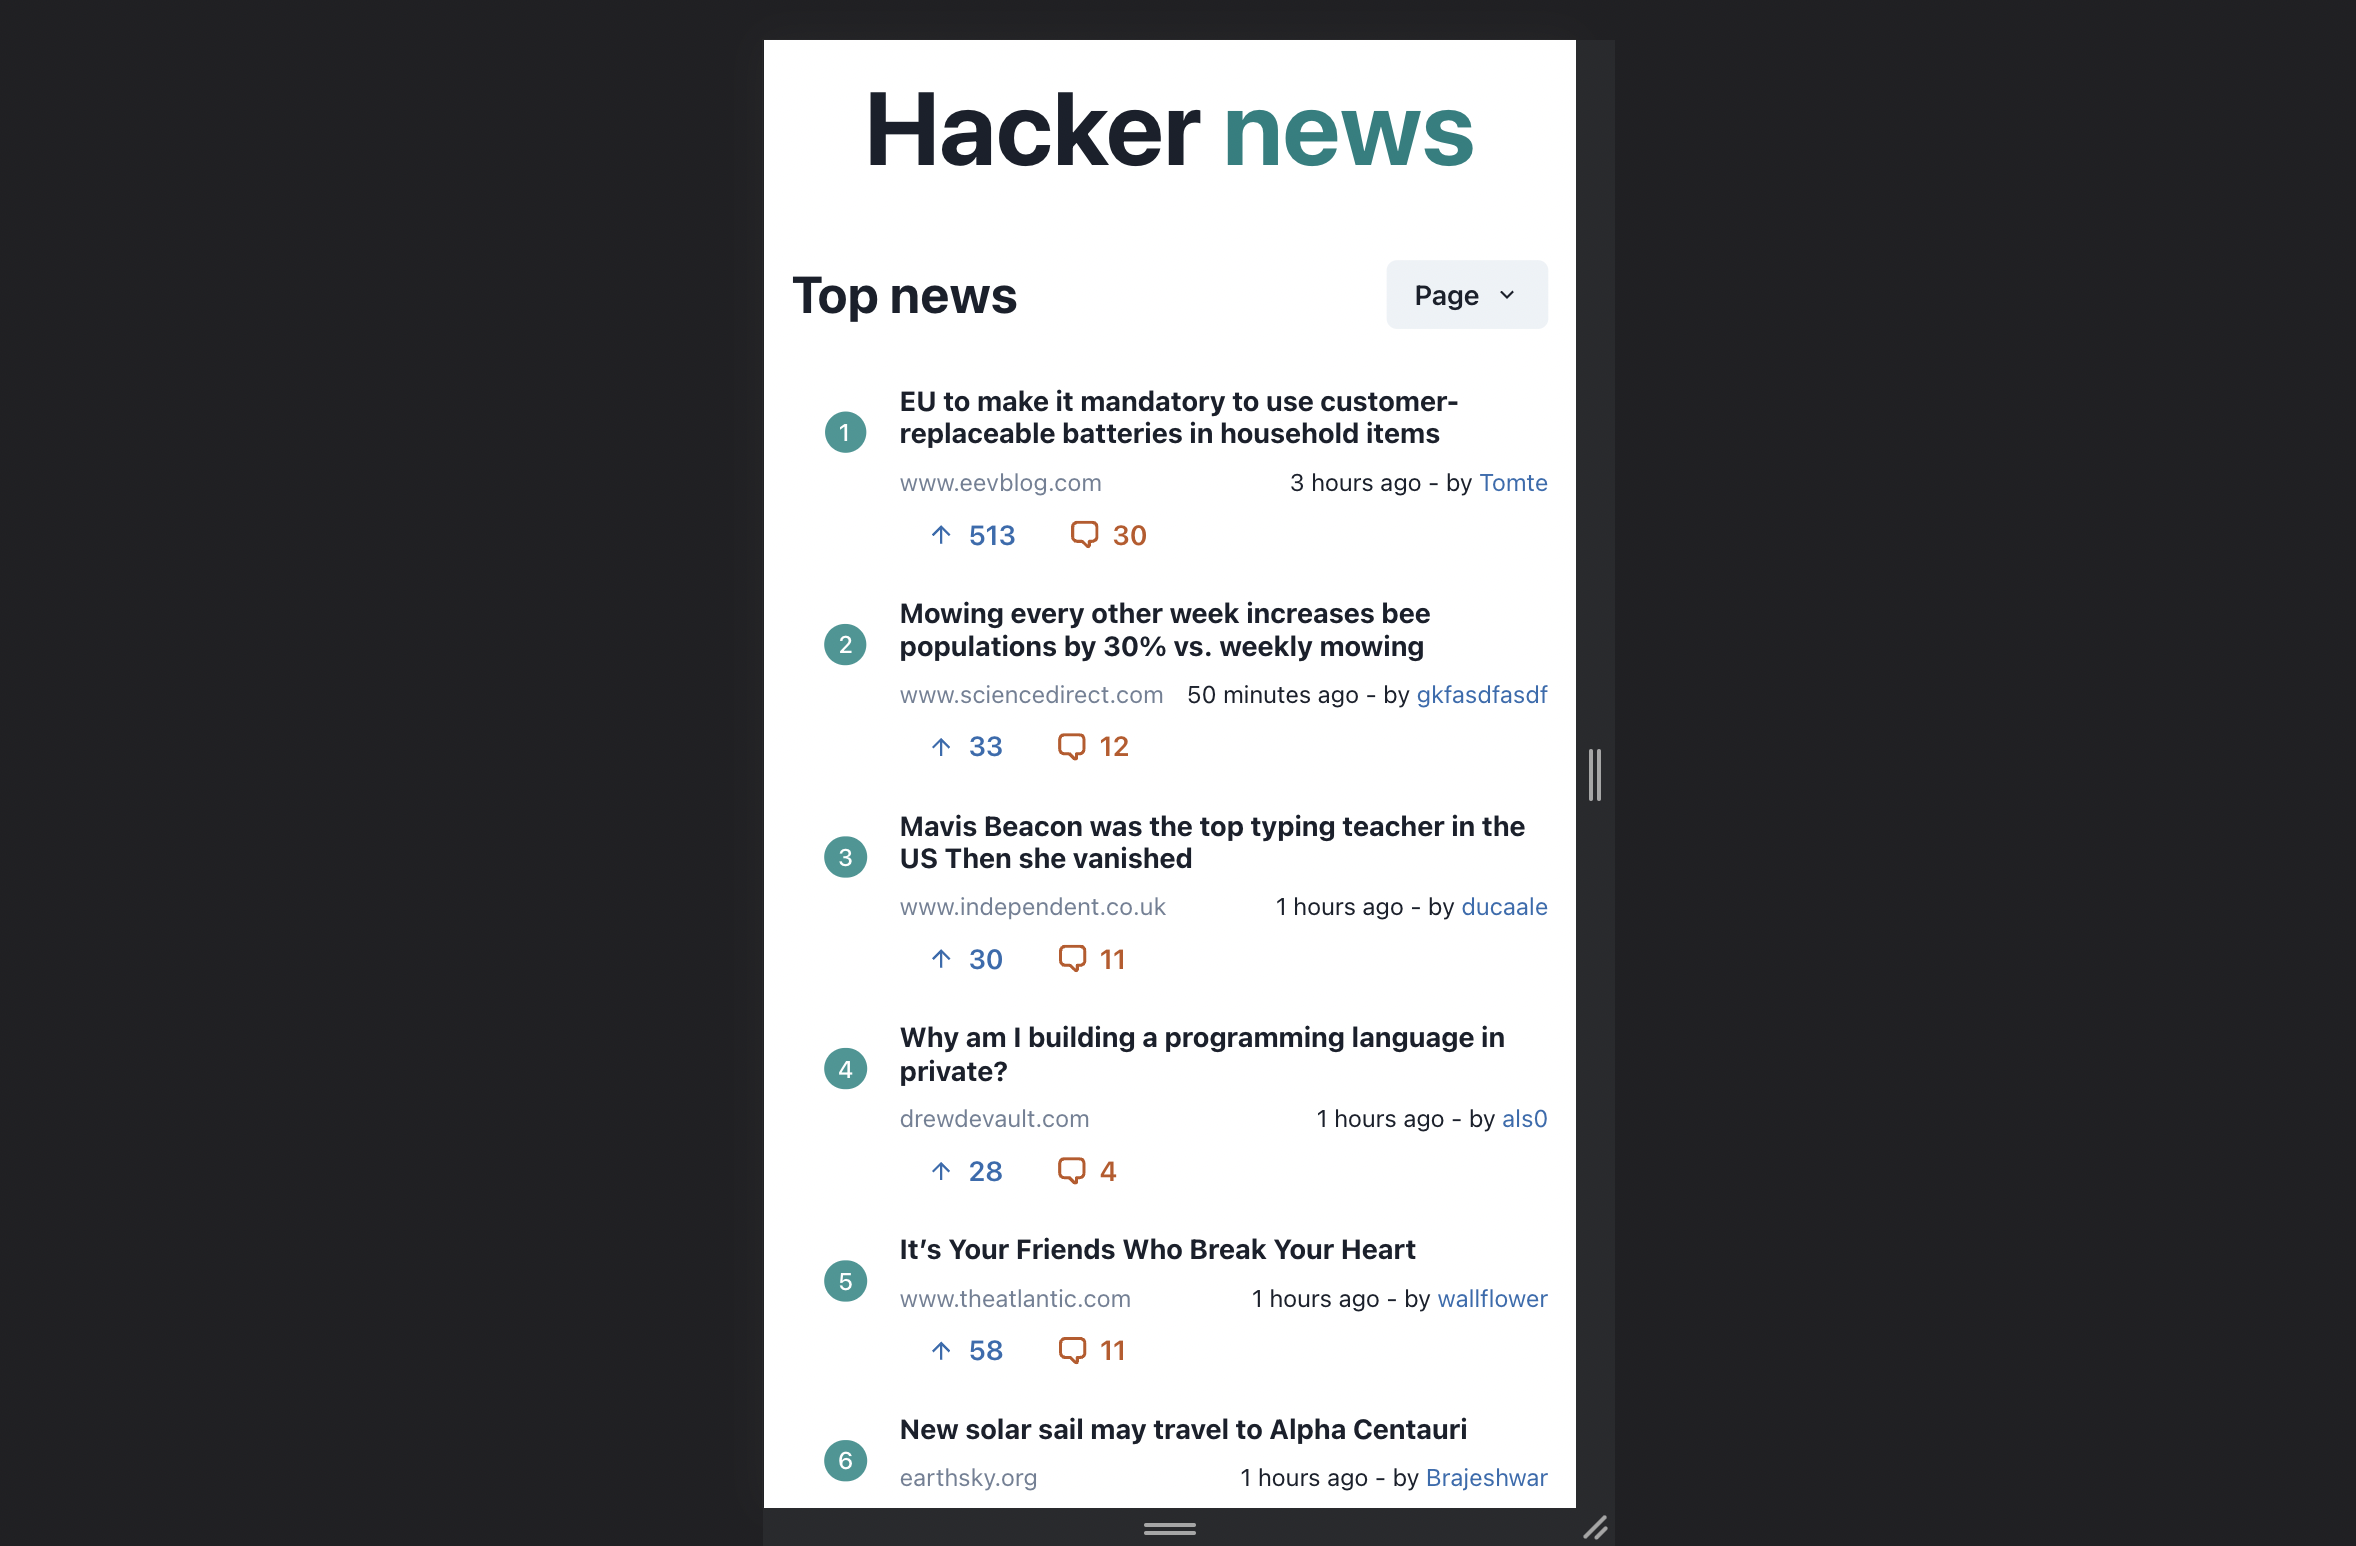
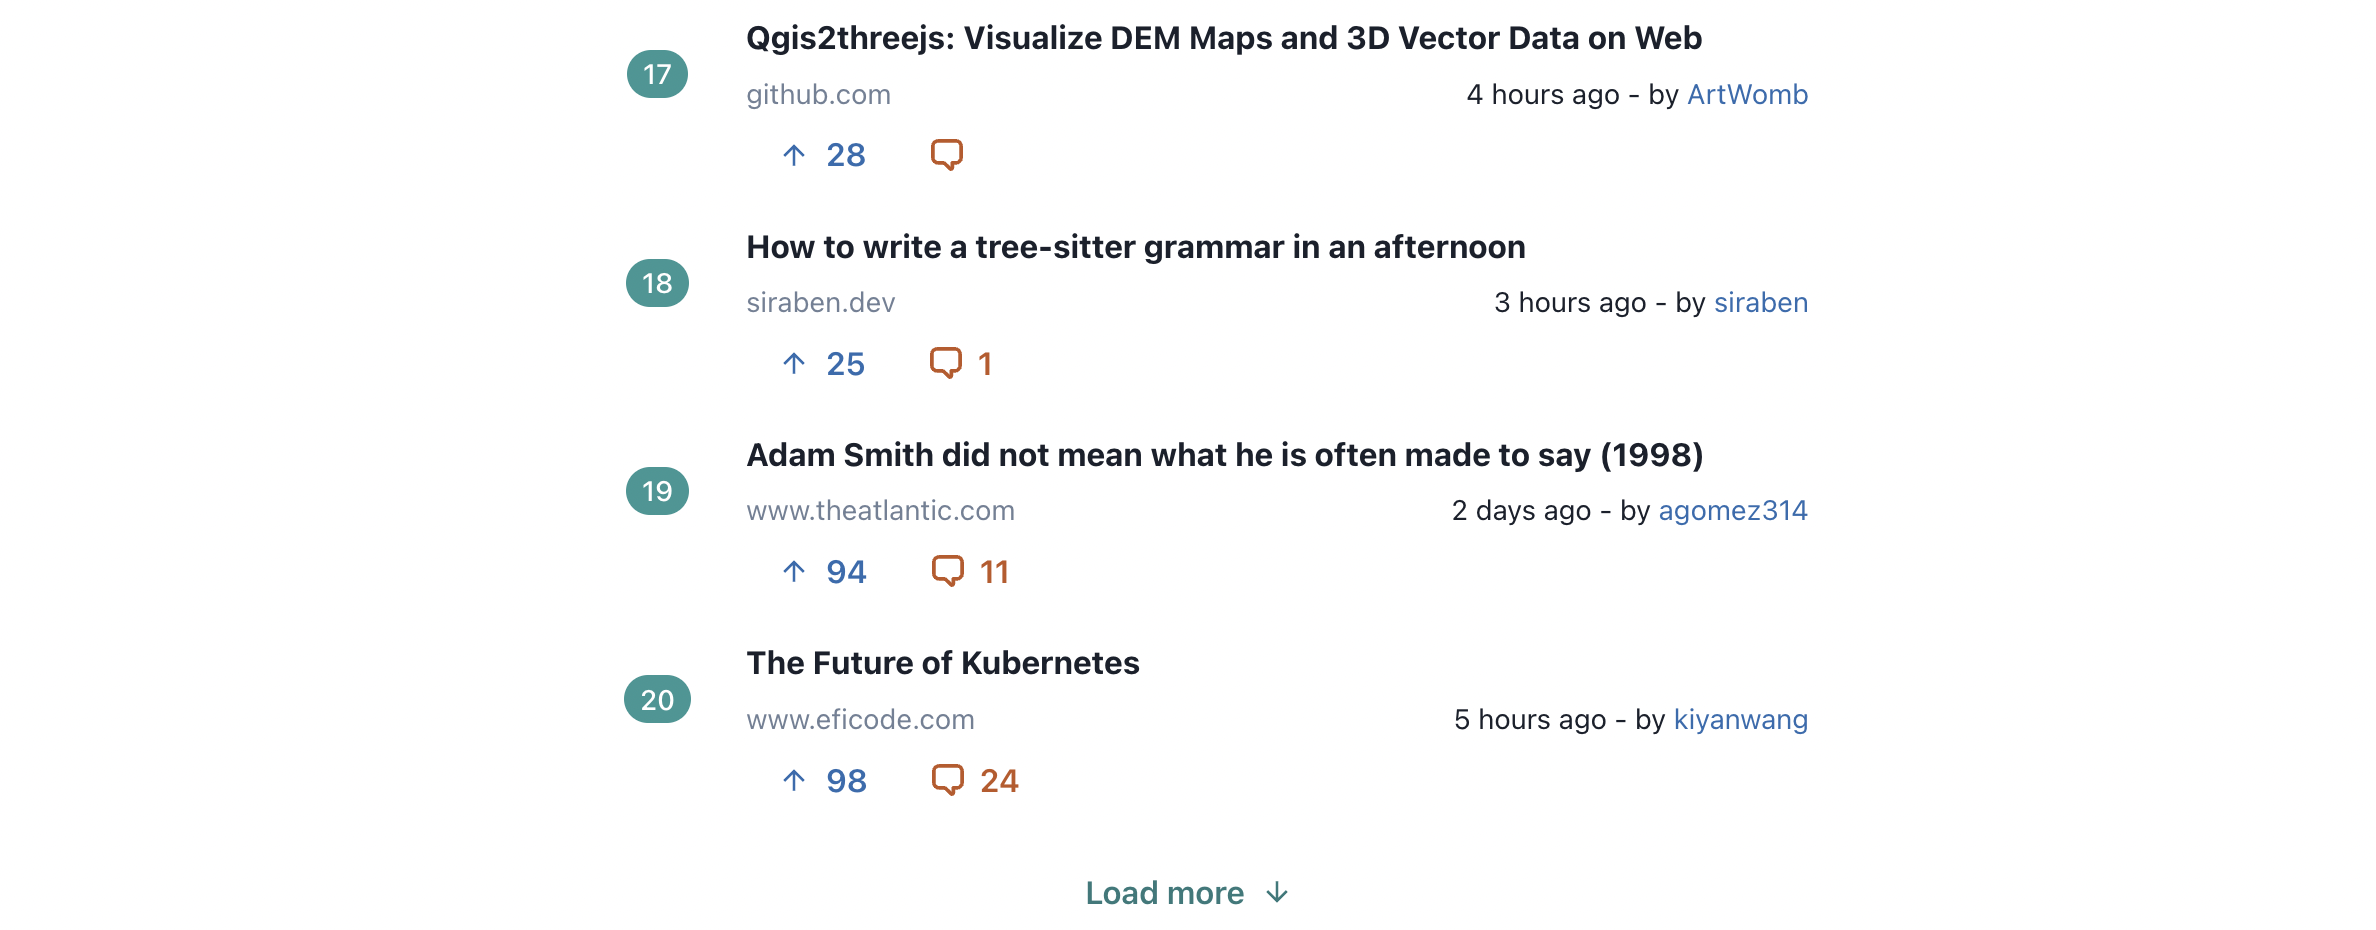
And that's about it. This brings up a beautiful UI with 20 items populated when we refresh the page. Here's how it looks on desktop:

And this is on mobile:
Pagination
The last thing that we need to do is support pagination. We will be doing that in two ways. Firstly, there will be a Load more button at the bottom of the page which when clicked, will load the next bunch of stories (by redirecting to the next page number). And secondly, there is the page dropdown which can be used to directly select the page we need to visit. All we need to do is to just load the correct route when a particular page is selected. The button looks something like this:
And here is the elegant code that loads more posts:
const onLoadMore = () => {
  router.push(`?page=${Number(page)+1}`)
}
Now, we just create a menu with 25 numbers and call the same function with the page number when the menu item is clicked:
<MenuList>
  { Array.from(Array(25).keys()).map(item => <MenuItem key={item} onClick={() => onLoadMore(item+1)}>{item+1}</MenuItem>)}
</MenuList>
And that takes care of the page navigation to the different pages.
Conclusion
With that in place, our app is complete. We have built a hackernews client that is responsive for mobile view, is server-side rendered and supports pagination. Building such real world applications teach us some important lessons and a few important tips & tricks like the one we used to parse the URL, for instance or the subroutine that we used for time conversion. So give it a try and build your own version of hacker news client using the free APIs and the UI framework of your choice. Cheers!