The app directory in Next.js 13
This article was originally published on the Logrocket blog. Check it out here.
Introduction
Next.js recently released a new version, and it was one that changed the manner in which a lot of stuff was done previously. We all know that the framework was famous for its file-system based routing. While keeping support for the same (which works via the pages directory), a new app directory was introduced. It was done in order to introduce the concept of Layouts and also to leverage React's server components for building a UI. In this article, we will look into all the new features by building an app with Next.js 13 and trying them out ourself. Let's begin!
Concepts
Next.js 13 introduced several concepts that were not a part of earlier releases. Let's look at each of them before diving deep into the implementation.
page directory v/s app directory
If you have worked with previous versions of Next.js, you might be aware of the pages directory. Any file that we created inside that directory would act as a route in the UI. For instance, pages/home.jsx would take care of the /home route.
 The app directory works alongside the pages directory (supporting incremental adoption) while providing loads of new features.
Routing with the app directory
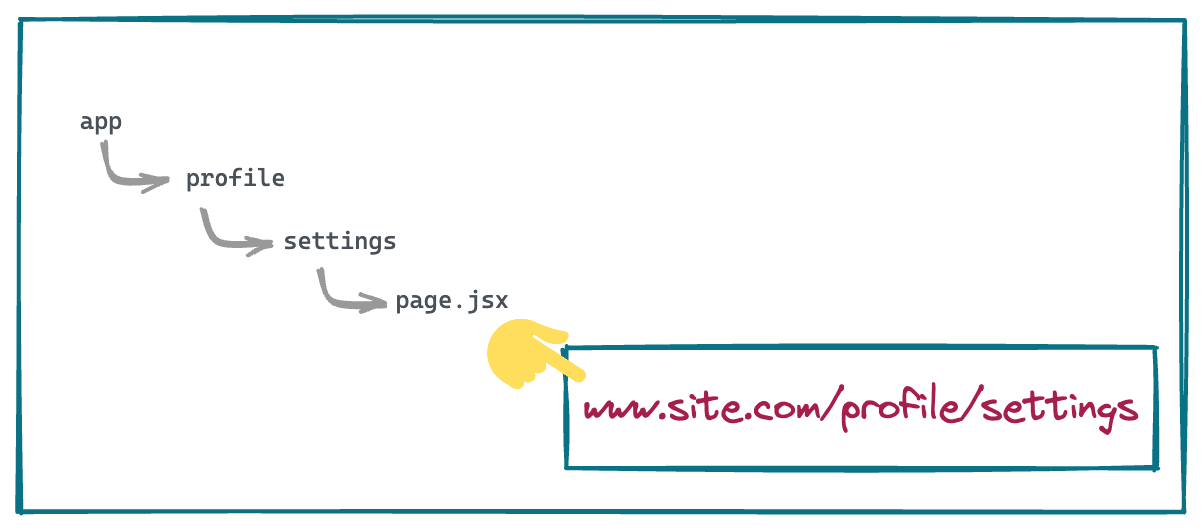
Similar to files inside of the pages directory, routing with the app directory is controlled via folders inside of it. And the UI for a particular route is defined with a page.jsx file inside of the fodler.
Thus, a folder structure that looks like app/profile/settings/page.jsx will take care of rendering the /profile/settings route.
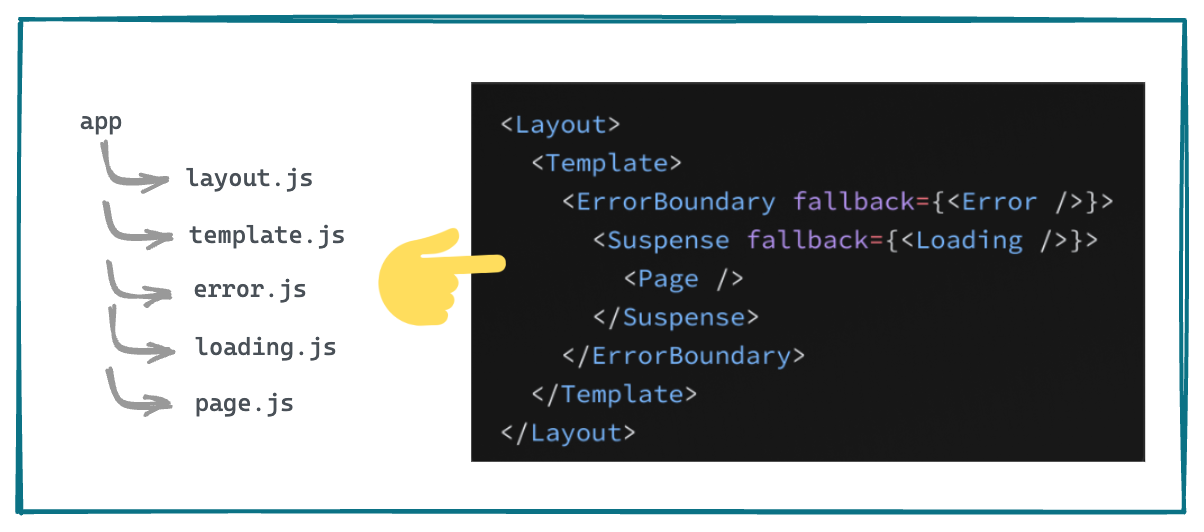
loading.tsx file
This is an optional file that can be creating within any directory inside of the app folder. It automatically wraps the page inside of a React suspense boundary. The purpose of the component is that it will be shown immideately on the first load as well as while navigating between the sibling routes.
error.tsx file
This is also an optional file whose purpose is to isolate the error to the smallest possible sub-section of the app. Creating this file automatically wraps the page inside of a React error boundary. Whenever any error occurs inside of a folder where this file is placed, the component will get replaced with the contents of this component.
layout.tsx file
This file is used to define UI that is shared across multiple places. A layout can render another layout or a page inside of it. Whenever a route changes to any component that is within the layout, its state is preserved because the layout component is not unmounted.
template.tsx file
This is similar to the layout.tsx file but upon navigation, a new instance of the component is mounted and the state is not preserved.
The use of layouts and templates helps us take advantage of a concept known as partial rendering. This means, while routing between outes inside of the same folder, only the layouts and pages inside of that folder are fetched and rendered.
Caveats
With so many changes that have been introduced, there are some things that we need to keep in mind while moving to the app folder from the pages folder.
Mandatory root layout
There must be a file that defines the root layout at the top level of the app directory. This layout is applicable to all the routes in the app. Also, the root layout must define the <html> and the <body> tag as Next.js does not automatically add them.
Head tag
Inside any folder in the app directory, we have create a head.js file that will define the contents of the <head> tag for that folder. The component returned from this head.js file can only return certain limited tags like <title>, <meta>, <link> and <script>.
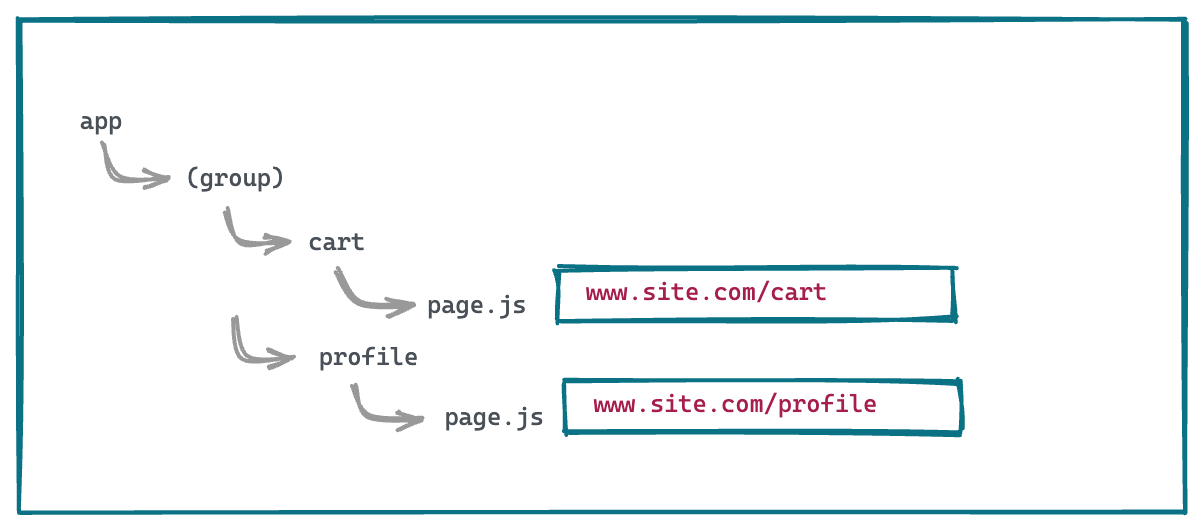
Route groups
Inside of the app directory, every folder contributes to the URL path. But, it is possible to opt out of it by wrapping the folder name inside of parenthesis (). All the files and folders inside of this special folder are said to be a part of that route group.
Server components
Another important point to note is that all the components that are created inside of the app directory are React server components by default which means they lead to better performance due to a small bundle size. But in case we want to switch to client component, we need to specify that with the use client directive at the top of the file.
Hands on
Project creation
Let us try our hands at each of the concepts mentioned above with the help of an example. First, we create a new Next.js project. For that, we will use create-next-app:
npx create-next-app next-13
cd next-13
Let us run the bootstrapped code as is:
npm run dev
We are greeted by the familar home page that looks like this:

The page & layout file
Let us create a folder parallel to the pages directory and name it as app. Create a layout.js file inside of it with the code:
export default function Layout({ children }) {
  return (
    <html lang="en">
      <head>
        <title>Next.js</title>
      </head>
      <body>
        {children}
      </body>
    </html>)
}
and a page.js file with:
import '../styles/globals.css'
export default function Page() {
  return <h1>Hello, Next.js!</h1>;
}
Notice how we have also imported the global.css file here in order to make use of the global styles that are already defined.
As the app directory is still an experimental feature, we need to set a flag in the next.config.js file in order to use it:
module.exports = {
  reactStrictMode: true,
  experimental:{appDir: true}
}
One last thing left to do is to delete the pages/index.js file as that will conflict with the file in the app directory. And with that in place, we can now run the dev server:
npm run dev
We see that the root route / now shows the UI corresponding to the app/page.js file:

Testing the layout
With that in place, let us now test out how the layout file impacts the overall UI. First, we will write some CSS styles in a layout.module.css file placed in the same directory:
.header {
  width: 100%;
  height: 50vh;
  background-color: cyan;
  text-align: center;
  font-size: 2rem;
}
Next, we import those styles in the layout.js file and add them to a div inside the body, just above the children:
import styles from './layout.module.css'

export default function Layout({ children }) {
  return (
    <html lang="en">
      <head>
        <title>Next.js</title>
      </head>
      <body>
        <div
          className={styles.header}
        >From layout</div>
        <div>
          {children}
        </div>
      </body>
    </html>)
}
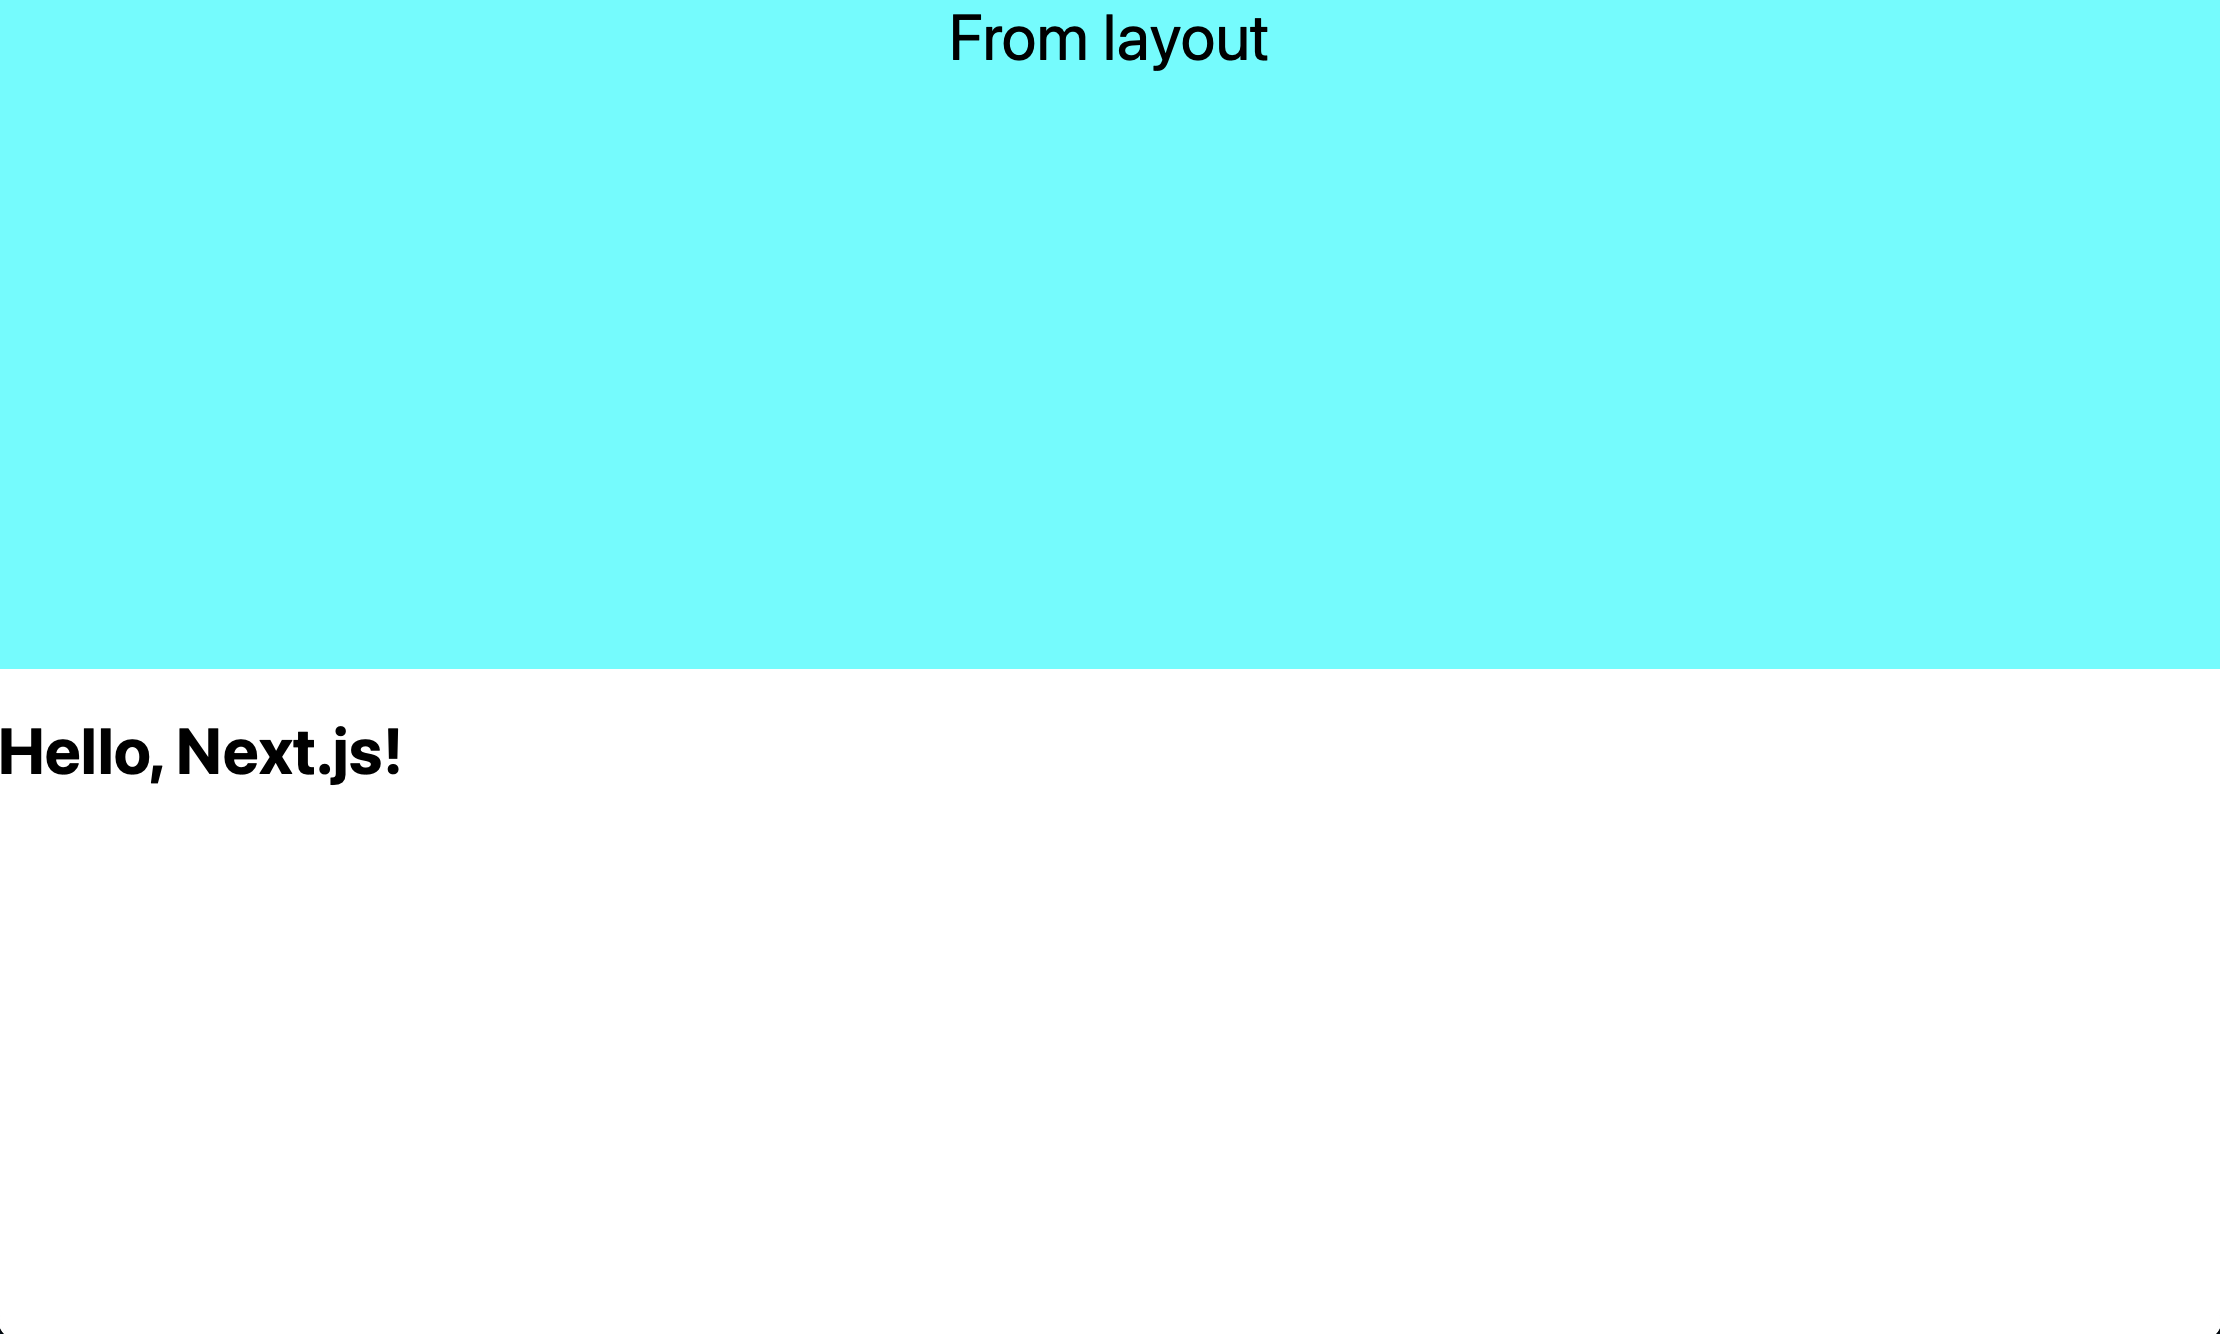
The UI now looks like this:
Let us add a new folder in the app directory called second and create a file inside it named page.js with the following contents:
import '../../styles/globals.css'

export default function Page() {
  return <h1>Second route!</h1>;
}
Navigating to the second route (http://localhost:3000/second) loads this UI:
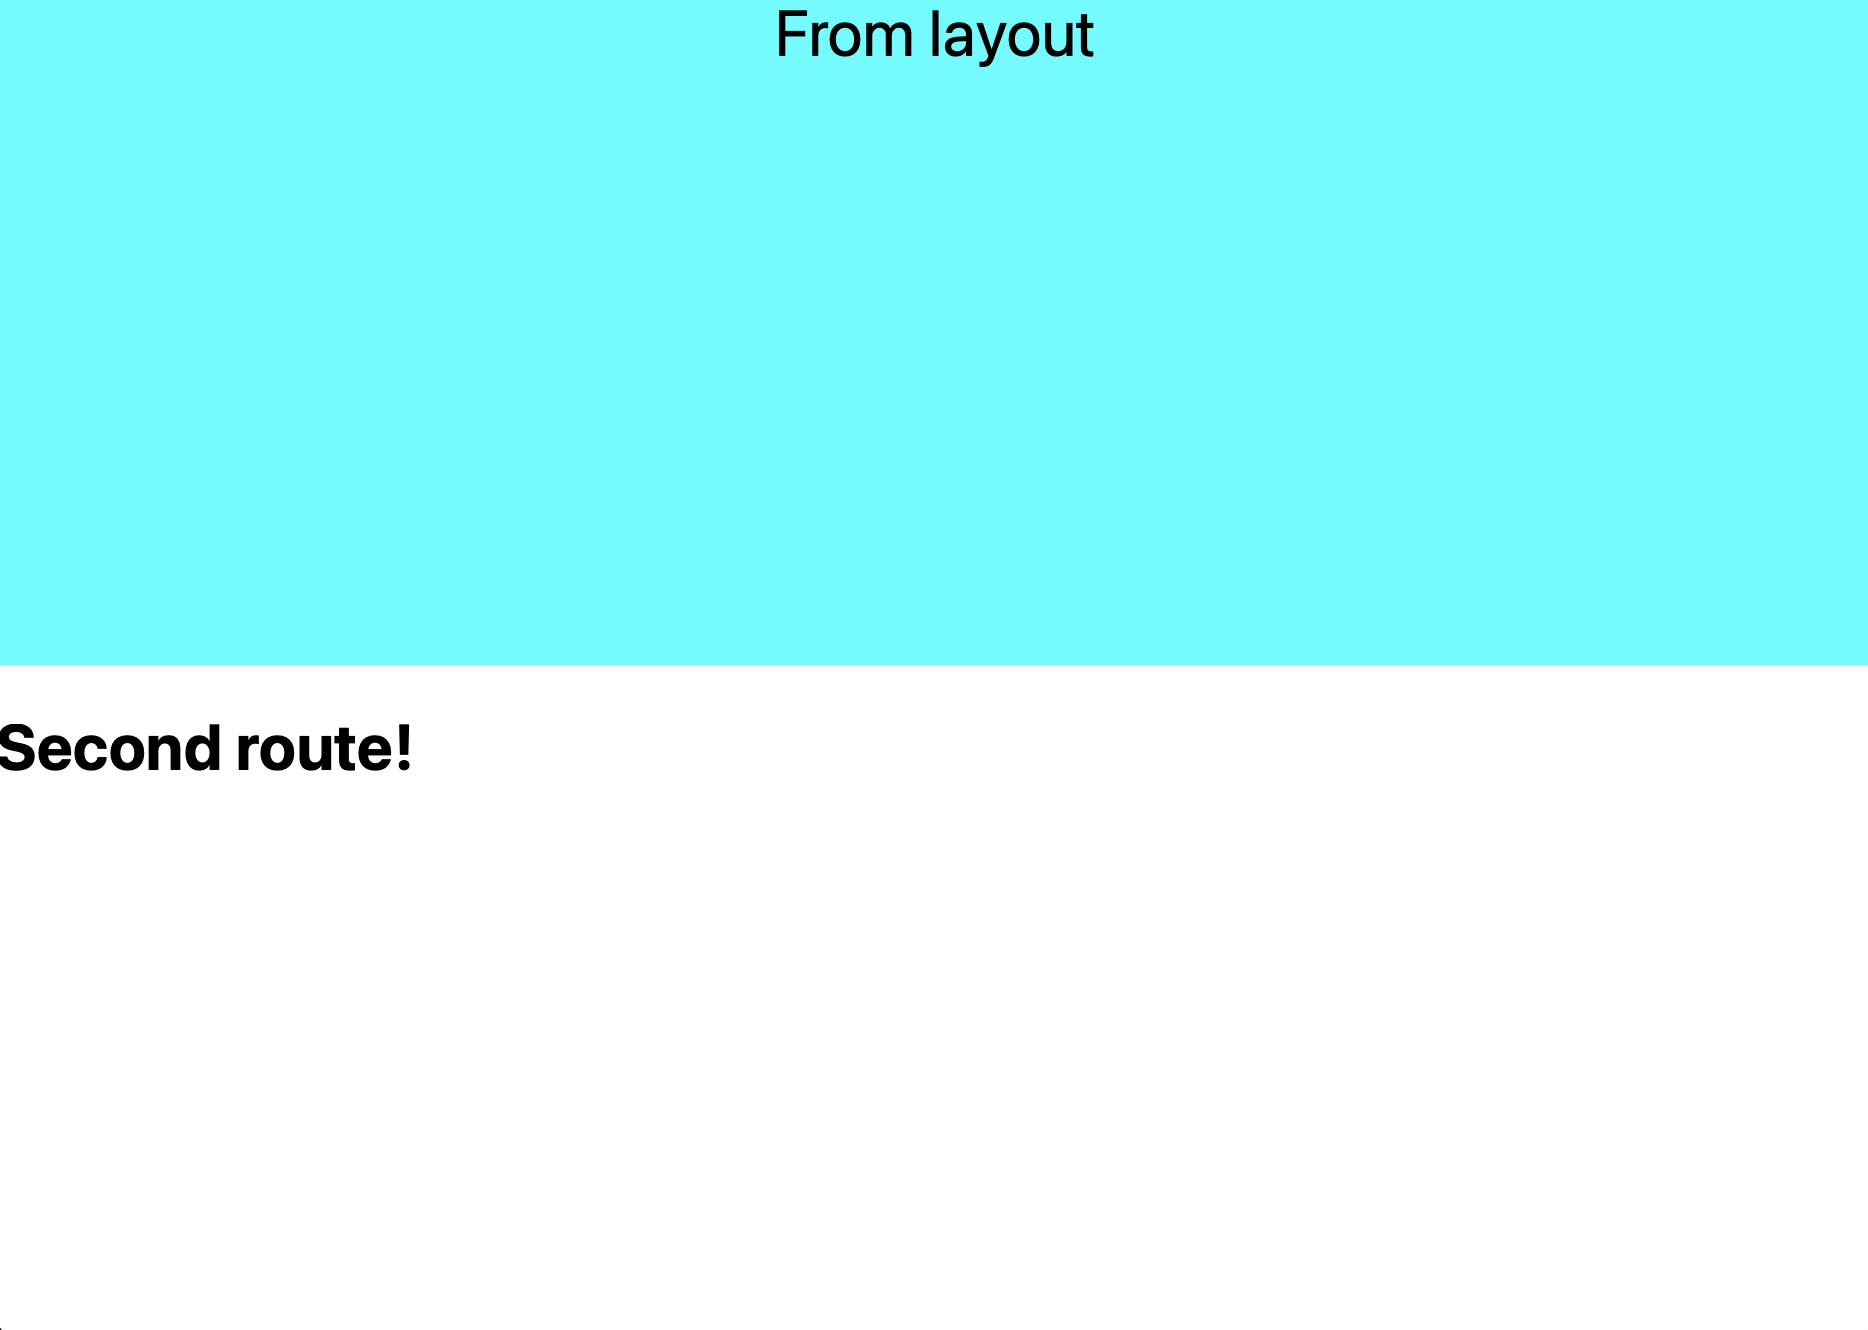
This means that the layout file placed inside the app directory is being shared by the page.js in the same directory as well as the page.js inside of the second folder. And any common changes that deal with the layout can be accomplished via that file.
Testing the error file
Next, let us check out the error.js file. We will create a folder inside the app folder. We will name the folder as breaking and create separate page.js and breaking.module.css files.
'use client';

import '../../styles/globals.css'
import styles from './breaking.module.css';

export default function Page() {
  return (
    <div className={styles.component}>
      <div>BREAKING</div>
      <div>
        <button onClick={(e) => console.log(e.b.c)}>
          break this
        </button>
      </div>
    </div>
  );
}
Notice the use client; at the top of this page. This tells Next.js to render this component as a client component (not a server component which is the default). This is because we are handling user input via the button component here.
.component {
  width: 200px;
  height: 200px;
  display: flex;
  align-items: center;
  justify-content: center;
  border: 2px solid black;
  flex-direction: column;
}

.error {
  background-color: tomato;
  color: white;
}
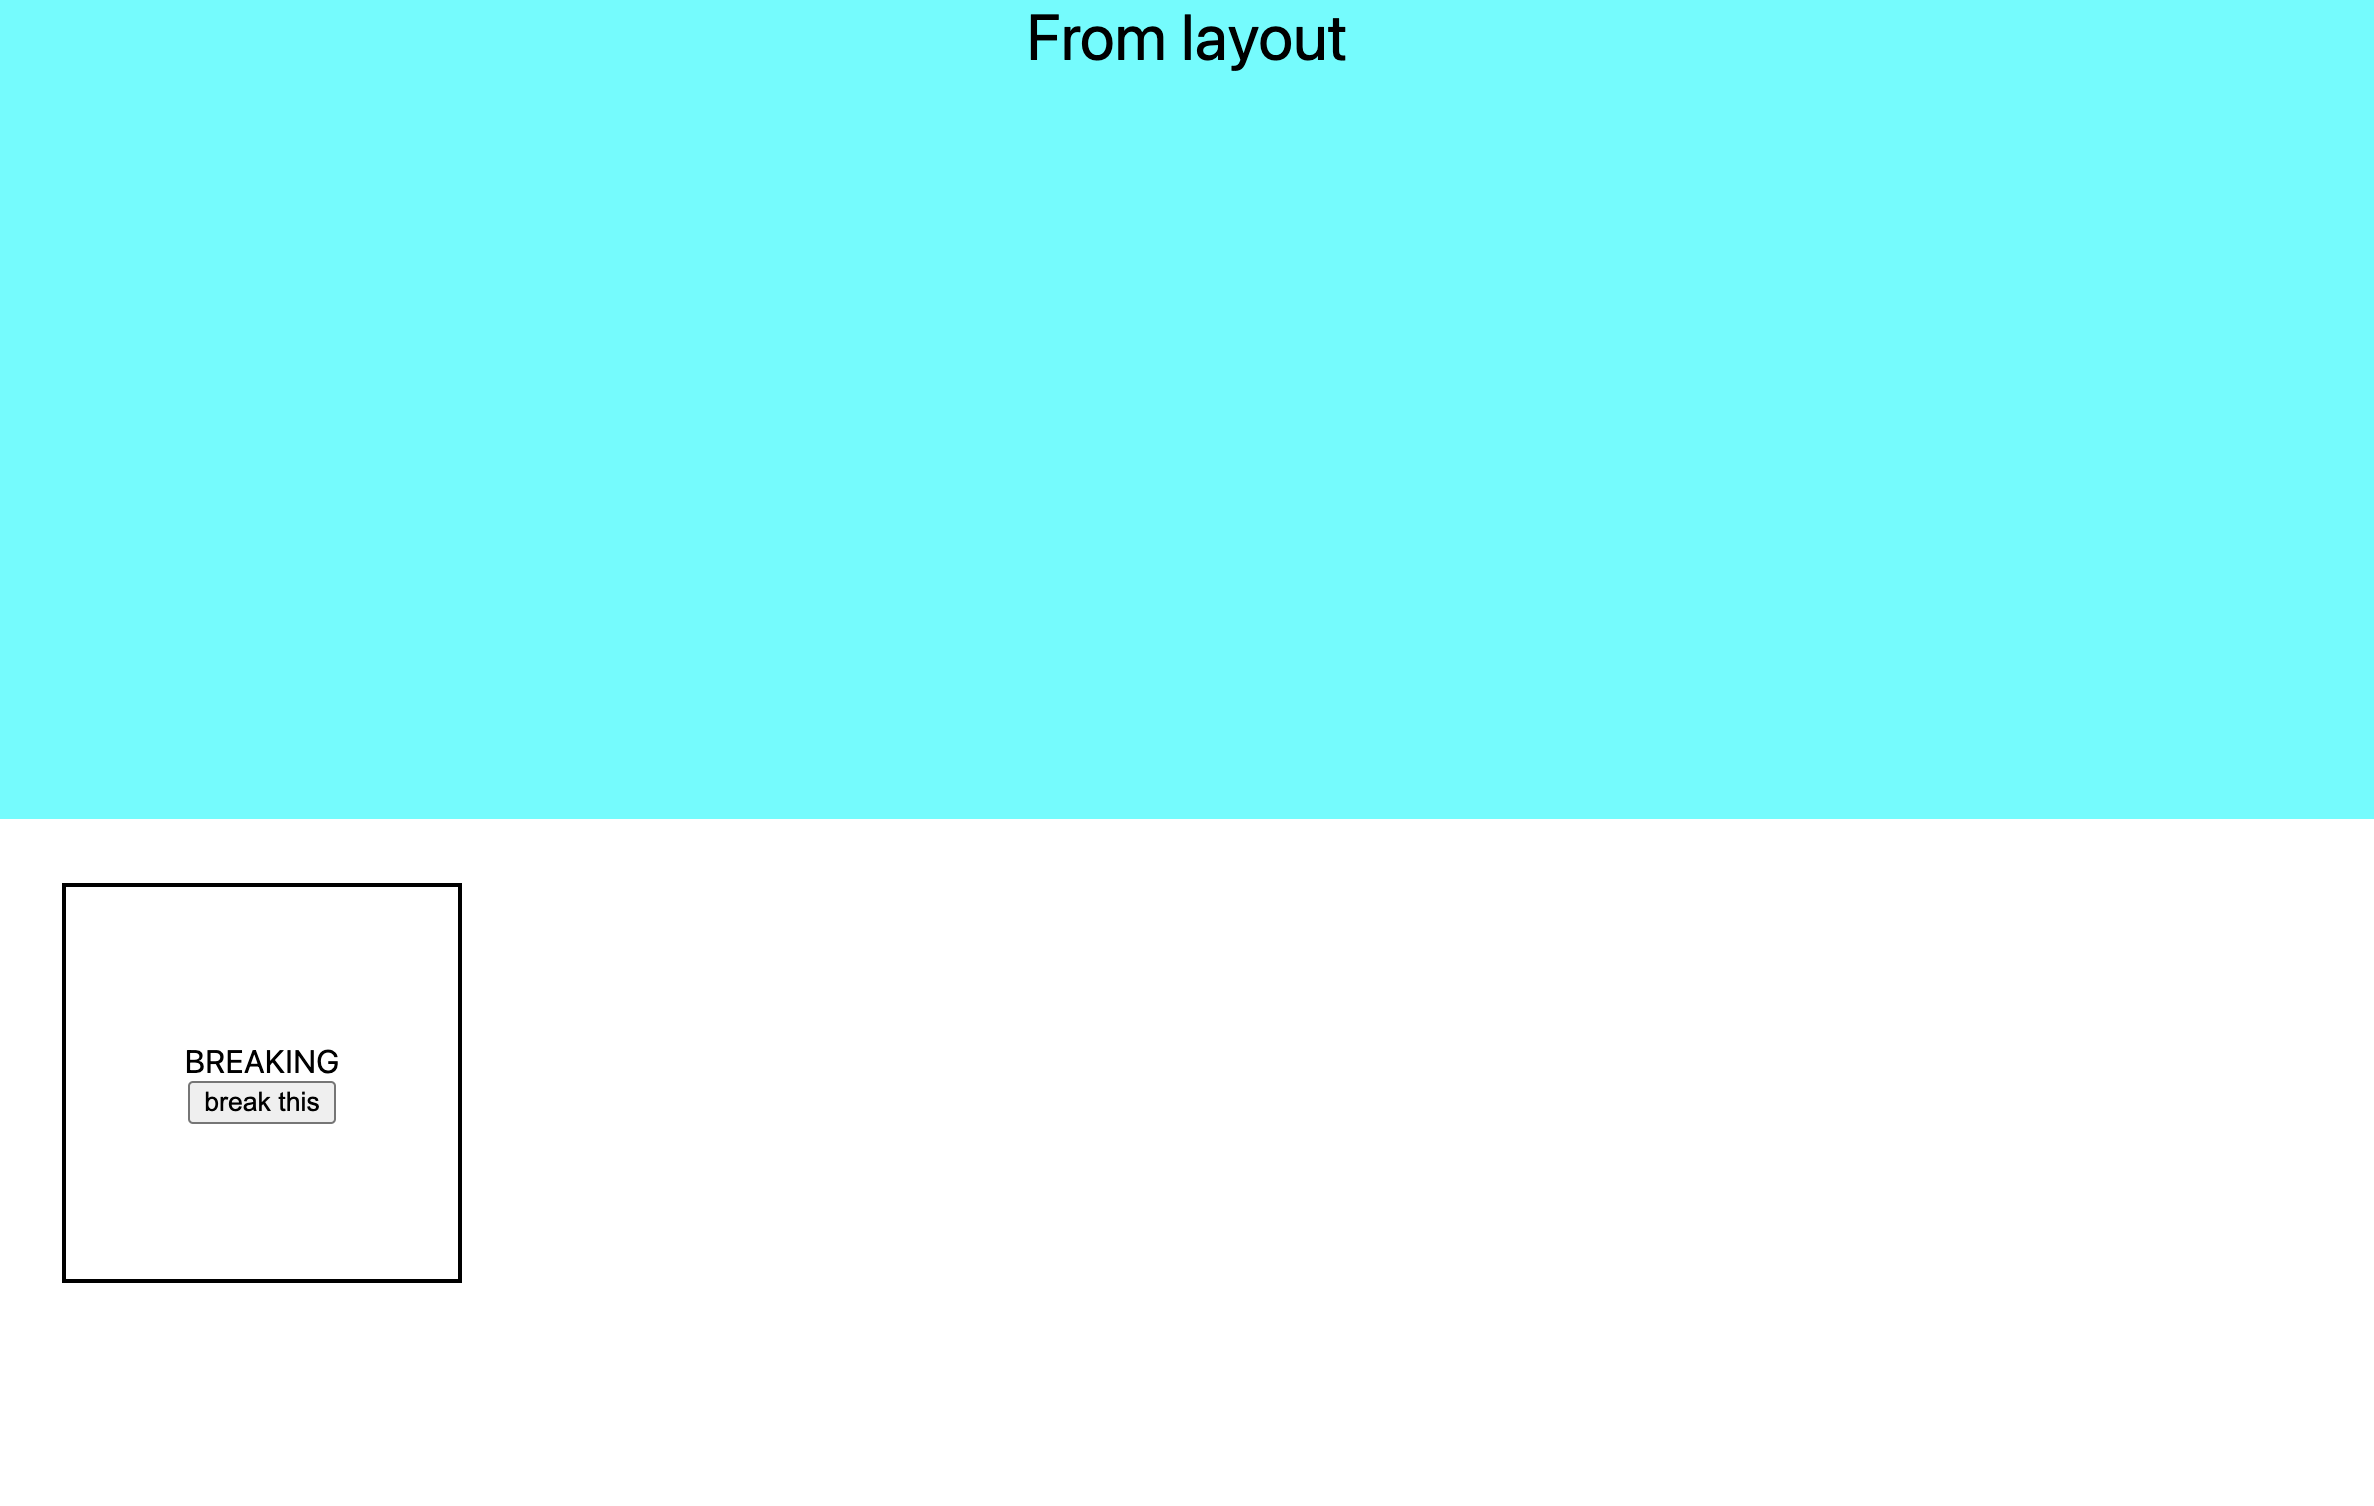
With this CSS in place, the component looks something like this:
Now, let us create an error.js file in the breaking folder. This will act as an error boundary in case any error occurs inside this components or any other components in the subtree of this one. The contents of the error.js file look like this:
'use client';

import '../../styles/globals.css'
import { useEffect } from 'react';
import styles from './breaking.module.css';

export default function Error({
  error,
  reset,
}) {
  useEffect(() => {
    // Log the error to an error reporting service
    console.error(error);
  }, [error]);

  return (
    <div className={styles.error}>
      <div>ERROR</div>
      <p>Something went wrong!</p>
      <button onClick={() => reset()}>Reset error boundary</button>
    </div>
  );
}
Notice that this is also a client component. There are two props that are passed to this component. The error prop which provides more details about the error and a reset function that resets the error boundary. This should be enough to contain the error only to the component and preserve the UI as well as the state of rest of the application.
Testing the loading file
Next, we test the functionality of the loading.js file. Let us create one inside the same folder with the following contents:
export default function Loading() {
  return <h1>Loading...</h1>
}
With that in place, we need to set up some navigation. Inside the second/page.js we place a Link to navigate to the /breaking route:
export default function Page() {
  return (<Link href="/breaking">navigate to breaking</Link>);
}
Upon clicking this link, we will see that before the breaking component gets mounted, the UI from the loading.js file will appear for a split second.
Data fetching
Lastly, let us explore how the data fetching differs from earlier versions of Next.js because all the components inside the app folder are server components by default.
Let us make the changes to the second.js component to fetch random dog facts.
async function getData() {
  const index = Math.floor(Math.random()*10)
  const res = await fetch(`https://dog-facts-api.herokuapp.com/api/v1/resources/dogs?index=${index}`);
  return res.json();
}
We will call this function directly inside of our React component by making it async:
export default async function Page() {
  const data = await getData();
  return (
    <p>
      {data[0].fact}
    </p>
  );
}
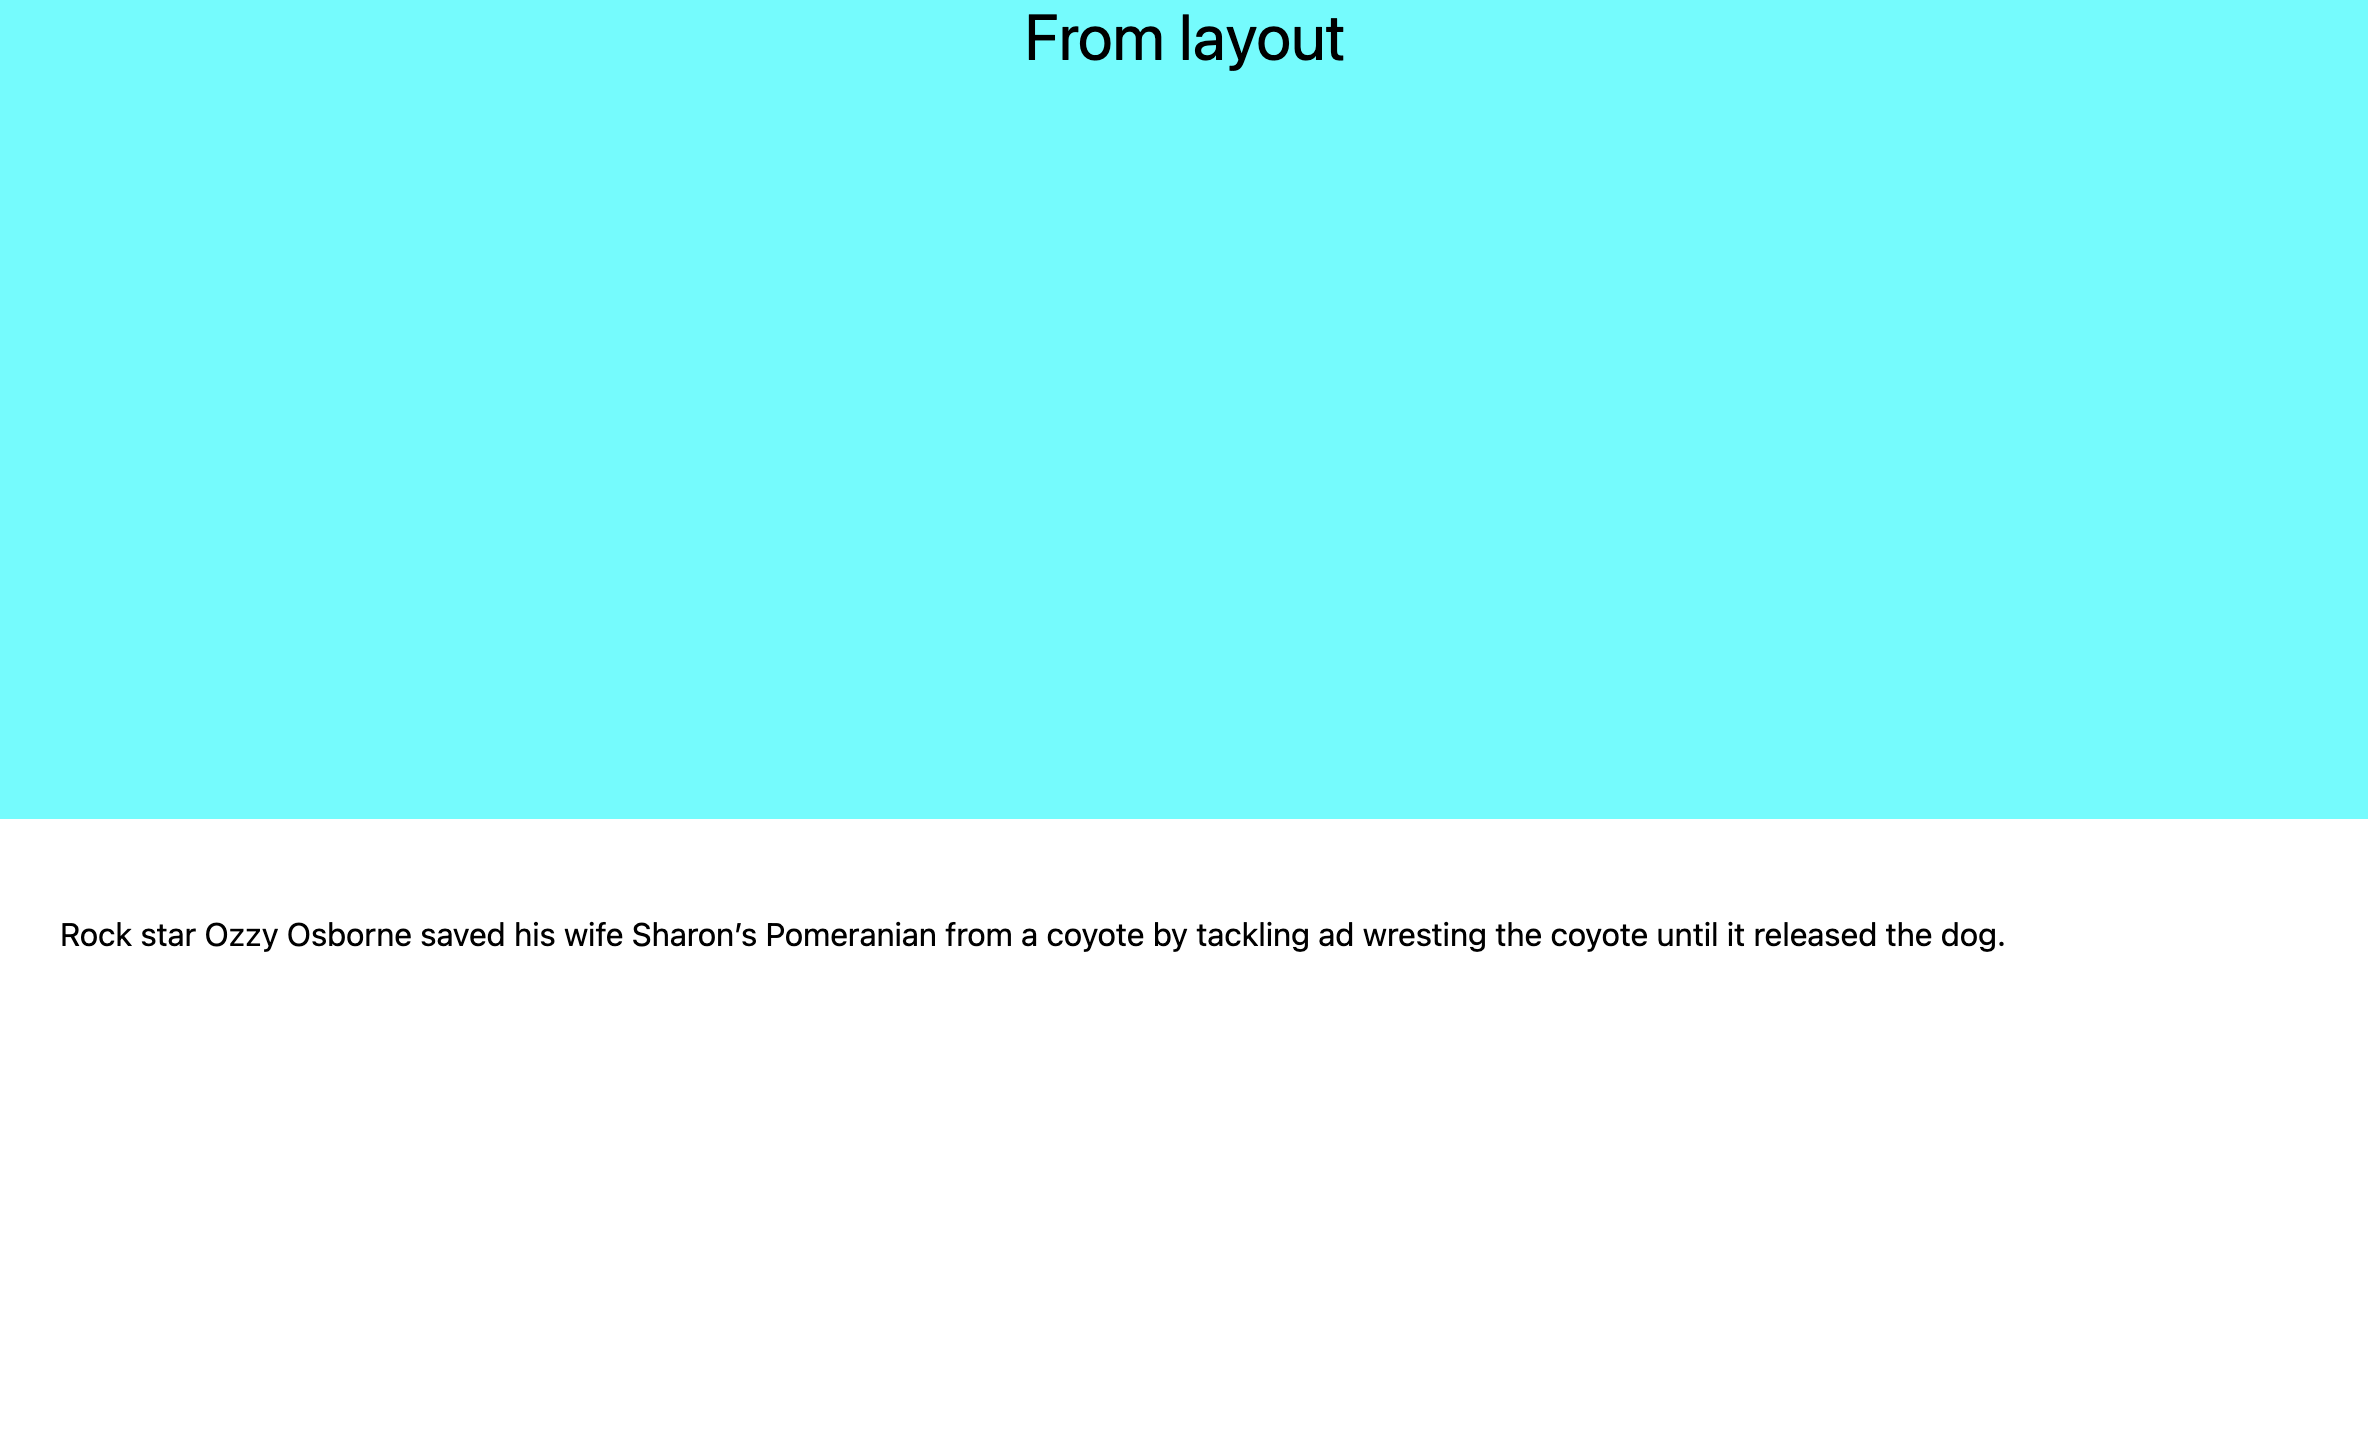
This makes the dog fact get fetched on the server-side and displayed in out component:
Client/server-side rendering
With the ability to use the fetch api natively inside the component provides us the ability to cache, revalidate the requests as per our requirement. This means that the previous utils like getStaticProps, getServerSideProps can be implemented via just one API like so:
// Generates statically like getStaticProps.
fetch(URL, { cache: 'force-cache' });

// Generates server-side upon every request like getServerSideProps.
fetch(URL, { cache: 'no-store' });

// Generates statically but revalidates every 20 seconds
fetch(URL, { next: { revalidate: 20 } });
Conclusion
That wraps up almost all the changes that were introduced with the app component in Next.js 13. You can find the code from this article in this github repo. Although these features are currently in Beta and are bound to change slightly before being officially released, we can agree that this provides way more flexibility to configure our UI through the loading, error and the layout components. Also, the simplicity of the native fetch API on server components is a great addition. Here's the link to the code that we worked with. Feel free to explore!